Effective quality control in manufacturing hinges on accurately assessing geometric tolerances such as flatness and height. Employing a structured light scanner can significantly enhance the automated visual inspection process, ensuring products meet precise specifications without compromising efficiency.
The Advantages of Using a Structured Light Scanner
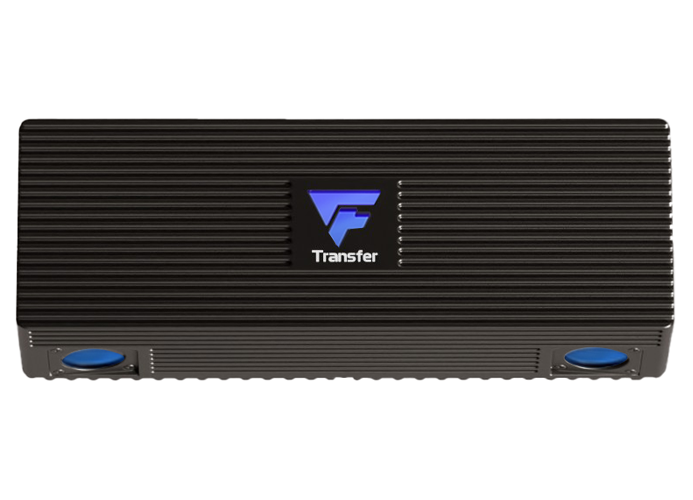
A structured light scanner, like the Epic Eye Pixel Pro, excels in capturing complex geometric details with high precision. This monocular 3D camera features a working distance range of 600–1500 mm, providing a wide field of view (FOV) of 1400 mm x 857 mm at 1.5 m. Such extensive coverage allows for the inspection of larger components or multiple items in a single scan, making it an invaluable tool in automated visual inspection workflows.
Inspecting Flatness and Height with Advanced Technology
To inspect flatness, the structured light scanner uses a series of projected light patterns to capture depth information accurately. By analyzing the point cloud data generated, manufacturers can identify deviations from the flatness specifications. For height measurements, the camera’s precision—up to 0.1 mm at a distance of 1.1 m—enables detailed assessments, ensuring that products meet required tolerances.
Optimizing Manufacturing Processes with Transfer3D
Implementing a structured light scanner in your production line can revolutionize quality assurance practices. The Epic Eye Pixel Pro by Transfer3D stands out in its class for offering enhanced flexibility and adaptability across various applications. With superior imaging capabilities for both flatness and height inspections, this automated visual inspection tool ensures that your products not only meet quality standards but also enhance overall efficiency. Adopting the Pixel Pro is an investment in precision and reliability, crucial for maintaining competitive advantage in today’s market.


